If you’ve ever arrived at a glamping site that looked dreamy online only to find a sagging tent beside a busy road, you’re not alone. First-timers often book on pretty photos alone and pay for it later. This guide shows you exactly what to check before you pay, so you can choose a glamping site that matches the pictures and your expectations.
We’ll walk through the decisions that matter most: the type of stay that suits you, the right season for your trip, and a realistic budget for your comfort level. You’ll also learn how to vet location and access, compare amenities, and book smart by understanding timing, minimum stays, and cancellation rules. Follow these steps and your first glamping trip should feel like an upgrade, not a gamble.
Decide What Kind of Glamping Stay Suits You
The first decision shapes everything else: what kind of structure do you actually want to sleep in? Glamping covers a wide range, from nearly tent-like setups to fully insulated cabins, and the differences matter more than most first-timers expect. A structure that feels romantic for a couple can feel cramped for a family of four, and a breezy safari tent in July can feel very different during an October cold snap. Photos on booking pages can be flattering, too, so it pays to read the fine print about size, insulation and what is actually included before you commit.
Think honestly about who is traveling and what you need. Families usually want space to spread out, solid weatherproof walls and enough beds so nobody ends up on a floor mattress. Couples often care more about the view from bed than about square footage, and many are happy to trade space for a big window and a quiet setting. Groups of friends should check how sleeping arrangements are split, since some structures work far better for two than for six. And if your dates fall outside the warm months, weather protection jumps to the top of the list, because canvas walls that feel charming in summer can get chilly fast. Here’s how the main options compare:
- Safari tents: Large canvas structures on solid frames with real beds and often furniture inside, giving families room to move without stepping on gear.
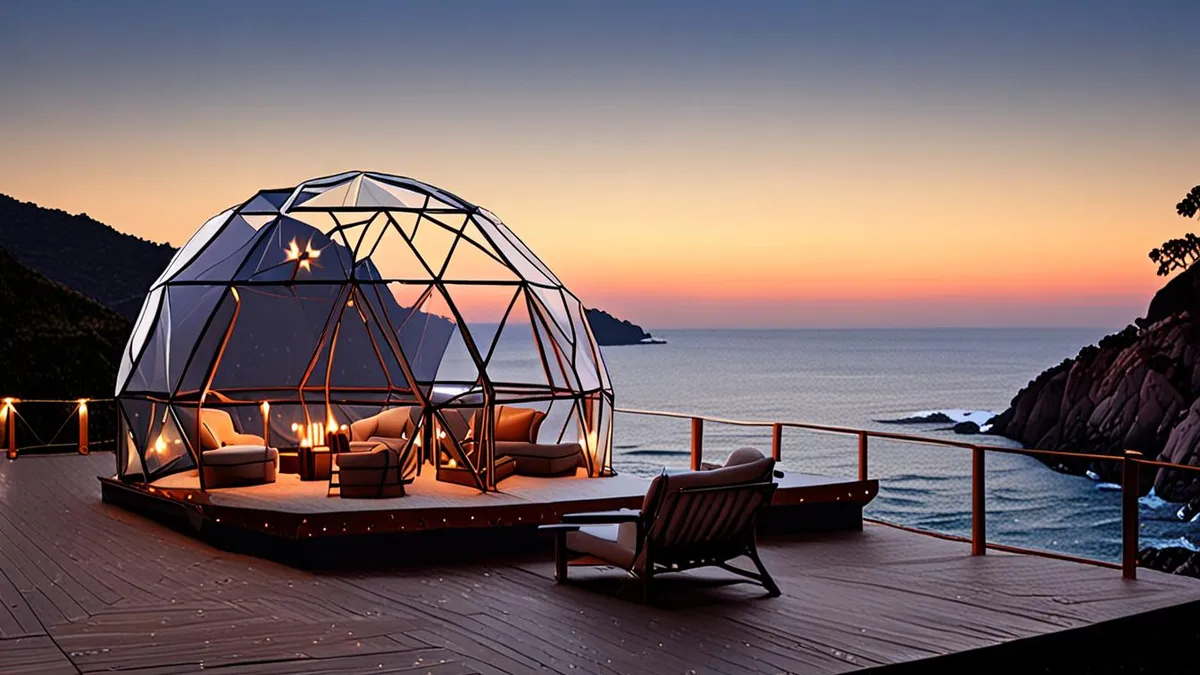
- Geodesic domes and pods: Rounded structures with big windows or clear panels, ideal for couples who want panoramic views and stargazing from the bed.
- Yurts and bell tents: Circular tent-style stays that sit in the middle on both price and comfort, usually with beds but fewer built-in extras.
- Treehouses and cabins: Solid-walled options with full weather protection, the safest pick for trips in rain, wind or cold.
Pick the Right Season for Glamping
Timing has a bigger effect on price and comfort than most people realize. In most temperate regions, peak glamping season runs from May to September, when the weather is warmest and most reliable. That’s also when sites are busiest and most expensive, so the best locations get snapped up early.
Save money in the shoulder season
If your dates are flexible, look at the edges of the season. Shoulder-season dates in April or October can cut rates by 20-40%, and the sites are noticeably quieter. Midweek stays typically cost 15-30% less than weekends too, so a Monday-to-Thursday trip often gets you the same tent for less money and more peace.
Check what the site can handle
One warning before you chase a discount: avoid sites without heating or insulation outside the summer months. A canvas tent that feels perfect in July can be miserable on a cold October night, and some sites simply close those units off-season. Ask the host directly how the unit is heated and whether it’s rated for the dates you have in mind before you book.
Set a Realistic Glamping Budget
Glamping prices vary enormously, so it helps to know the ballpark before you fall in love with a listing. Budget-friendly tents typically start around $80-150 per night, while luxury domes and lodges typically run $250-600+ per night. The difference usually comes down to size, private bathrooms, kitchen facilities and the view out your window. A basic bell tent with shared facilities sits at the low end, while a heated dome with a wood stove and a panoramic deck sits firmly at the top.
Whatever the base rate, the advertised price is rarely the final one. Extras add up quickly, especially on multi-night stays, so read the listing carefully and ask the host exactly what’s included before you pay. Some sites bundle firewood, linens and activities into the rate; others charge for every little thing. A tent that looks cheap at $100 a night can approach the cost of a mid-range option once fees are added, so do the full math per stay rather than per night. Keep these common extras in mind:
- Firewood and fire kits: Many sites charge per bundle or per fire, which adds up over several cool evenings.
- Activities and rentals: Kayaks, guided walks and on-site experiences are often priced separately from the room.
- Cleaning fees: A flat fee per stay can noticeably change the math on a short one- or two-night booking.
- Minimum stay requirements: Weekends commonly require 2-3 nights, so a “cheap” Saturday rate may mean paying for two nights you didn’t plan.
One last tip: ask the host for a total price in writing before booking. That single question catches most surprise fees and makes comparing sites far easier.
Check Location and Access Before Booking
A stunning tent in the middle of nowhere loses its charm fast when you realize the nearest grocery store is an hour and a half away. As a rule of thumb, pick a site within 30-60 minutes of a town. That gives you easy access to supplies, fuel, and medical help if anything goes sideways. First-timers especially benefit from this safety net, since you never know when you’ll need to make an extra store run for marshmallows or allergy medication.
Road access matters more than you think
Before you book, find out exactly how you reach the site. Some remote glamping properties sit at the end of gravel or dirt roads that can be rough after rain, and a few genuinely require a high-clearance vehicle. If your rental car is a small sedan, this detail can make or break your trip. Ask the host directly about road conditions and whether a standard car can manage them, and check driving distances carefully—countryside kilometers often take longer to cover than the map suggests.
Also look at what is actually nearby, not just what the listing photos show. If you’re dreaming of morning hikes, confirm there are trails within easy reach. Want a lake day or a wander through a village? Verify those places exist close by and are open when you visit. Finally, check phone coverage at the site if you need to stay connected, whether for work or family. Many rural locations have patchy signal, so ask the host which carriers work well and whether the site offers wifi as a backup.
Compare Amenities and Comfort Levels
Glamping covers a huge range of comfort levels, and two sites using the same word—say, “safari tent”—can offer completely different experiences. The single biggest divider is bathroom access. Some units come with a private en-suite bathroom, while others rely on shared washroom blocks a short walk away. Neither option is wrong, but showering in your pajamas at midnight is only fun if you planned for it, so confirm this detail before you pay.
Heating, cooling, and hot water are the next things to nail down. A canvas tent that feels magical in August can be miserable on a chilly night without a heater, and some budget-friendly sites only offer hot water during set hours. If you’re staying multiple nights, ask about kitchen access or on-site dining too—cooking every meal on a single camp stove gets old quickly.
Beyond asking the host, dig into recent reviews from the past few months. They reveal patterns the listing won’t mention. Pay attention to comments about:
- Cleanliness between guests — look for mentions of fresh linens, cleaned bathrooms, and whether housekeeping is included for stays longer than a couple of nights.
- Noise transfer — canvas walls carry sound, so reviews often flag thin separation between units, nearby roads, or late-night common areas.
- Actual condition versus photos — reviewers frequently note when furnishings, decks, or appliances have seen better days than the listing suggests.
- Host responsiveness — how quickly problems like a dead heater or a stuck zipper get fixed can define your whole stay.
Book Smart: Timing and Cancellation Rules
Glamping sites are small businesses with a handful of units, which means popular dates sell out far earlier than hotel rooms do. A single site might have only three or four domes or tents, so one busy weekend can wipe out availability entirely. A little planning around timing and cancellation rules protects both your dates and your money. Here’s how to approach the booking itself:
- Reserve peak-season weekends well ahead. For the most in-demand summer dates, book 3-6 months in advance. Popular sites can fill those weekends completely, and waiting until spring often leaves you with weekday leftovers or nothing at all. If your schedule is flexible, shifting to midweek dates makes last-minute planning far less stressful.
- Check the cancellation window before paying. Most sites require 7-14 days notice for a refund, and some stricter listings offer credit instead of money back. Know exactly how late you can cancel without losing your deposit, and set a calendar reminder a few days before that deadline. If weather might be an issue, ask the host what happens in a genuine storm or washout before you commit.
- Book direct with the site when possible. Going straight to the host often gets you better rates than third-party platforms, and you’ll get clearer, more accurate terms. Direct contact also makes it easier to ask questions and arrange special requests, like an early arrival with kids in tow or a quiet unit away from the fire pit.
- Get check-in times and arrival instructions in writing. Remote sites can be genuinely tricky to find, and some operate self check-in with gate codes or marked paths. Ask for directions, arrival time windows, and parking details by email or message so you have everything on your phone when you arrive.
Once your booking is confirmed, save the confirmation and any message thread with the host. Put the cancellation deadline and check-in instructions in your calendar too. If anything about your plans changes, you’ll have the terms and instructions at your fingertips, which makes resolving issues far easier than scrambling through an app at the last minute.
Your First Glamping Trip, Sorted
Glamping goes wrong when people fall for good photos and skip the basics. The fix is simple: match the stay type, the season and your budget first, then compare sites on that shortlist. A safari tent in peak summer and a heated dome in October are two very different trips, and knowing which one you want makes every other decision easier.
Before you pay anything, verify the practical details: the location and road access, the amenities you actually need, and the refund policy, since many operators set a strict window for cancellations and you want to know it upfront. Then book early for peak-season weekends and go midweek if you want to save. If this guide helped you plan your first trip, leave a comment or share it with a friend who is ready to try glamping.