You booked the tent with the real bed, the wood stove and the view, and now you’re staring at an empty duffel wondering what actually goes in it. That confusion is common. Glamping sits somewhere between a hotel stay and a camping trip, so the usual packing rules don’t quite apply. Some sites hand you towels and a stocked kitchenette, while others expect you to bring everything short of the tent itself. Arrive without checking, and you’ll either haul duplicates or shiver through the night missing something basic.
This glamping trip packing checklist takes the guesswork out. We’ll start with what your site likely already provides so you don’t overpack, then move through clothing layers, footwear and outdoor essentials, kitchen and food supplies, toiletries and sleep comfort, and finally booking and timing tips. A quick-reference checklist at the end ties it all together, so you can pack with confidence and spend your energy on the trip itself.
What Your Glamping Site Already Provides
The biggest packing mistake first-timers make is treating a glamping tent like a campsite. Most glamping tents come with a proper bed, and that means linens, pillows and blankets are usually already made up before you arrive. Check the site’s amenities list before you stuff a sleeping bag or extra duvet into your car, because you’ll almost certainly be doubling up on bedding the site already provides.
Beyond the bed, many sites supply far more than people expect. Towels, basic kitchenware and even a cooler or mini-fridge are commonly included. A quick email or a read of the booking page tells you exactly what’s waiting in your tent, and that knowledge can free up half your trunk space.
Two questions deserve a direct ask before you pack. First, heating and cooling: canvas walls can let interior temperatures swing 10-15°C between day and night, and some sites offer wood stoves or electric heaters while others leave you to layer up. Second, bathrooms. An ensuite tent and a shared restroom block demand very different amounts of toiletry and towel gear.
- Bedding specifics: ask whether linens are changed during longer stays, or whether a mid-stay refresh costs extra.
- Kitchenware level: “basic kitchenware” can mean a single pot and two plates, or a full set for four, so request an itemized list if you plan to cook.
- Cooling options: some tents include fans or opening mesh panels, while others rely on cross-ventilation only, which matters on warm afternoons.
- Bathroom distance: if facilities are shared, ask how far they are from your tent, since that walk at night changes what lighting and footwear you’ll want.
Clothing Layers for a Glamping Trip
Canvas tents breathe, which is wonderful in the afternoon and less wonderful once the sun goes down. Nights at glamping sites regularly fall 10-15°C below daytime highs, even in summer, so the t-shirt and shorts that felt perfect at check-in won’t carry you through dinner by the fire. The fix is a simple three-layer system you can add to or shed as the temperature moves.
Start with a moisture-wicking base layer against your skin, add an insulating fleece or down mid-layer for warmth, and finish with a waterproof shell that blocks wind and evening drizzle. This combination packs small and covers nearly every condition you’ll meet on a temperate-season trip.
Two details separate comfortable packers from cold ones. First, bring one warm hat and one pair of warm socks even in July, because your head and feet lose heat fastest after dark. Second, many upscale glamping resorts have on-site dining or social areas, so include one presentable casual outfit that works for dinner rather than a wardrobe of trail clothes.
- Quick-dry over cotton: cotton stays damp for hours after rain or a sweaty hike, while merino and synthetics dry overnight, which matters on stays of 3-4 days with no laundry access.
- Extra base layer: packing one spare wicking shirt lets you sleep in dry clothes instead of re-wearing the day’s damp one.
- Convertible pants: zip-off styles handle a warm afternoon walk and a chilly morning coffee run without doubling your pants count.
- Compression packing: rolling layers into packing cubes keeps the three-layer system visible and reachable instead of buried at the bottom of your bag.
Footwear and Outdoor Essentials
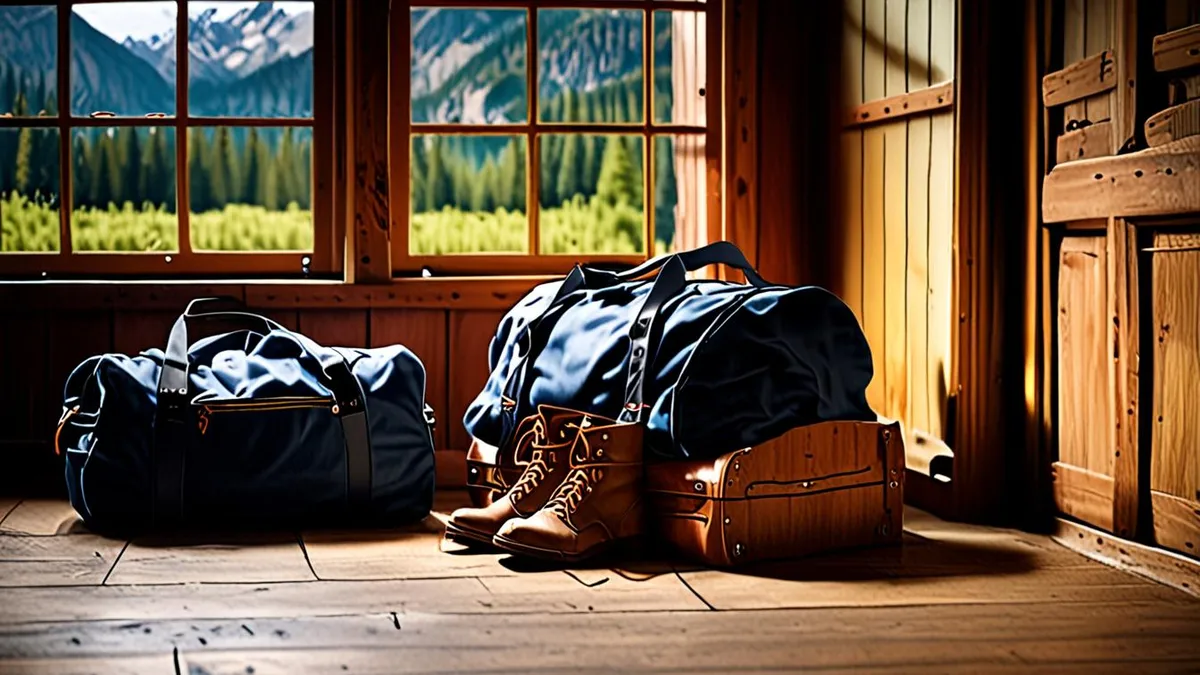
Forget the image of parking right next to your tent. At many glamping sites, you’ll walk 50-200 meters over grass or gravel from your car to your accommodation, and that path is often muddy after rain. Waterproof shoes or boots are non-negotiable for exactly this reason. They’re also what stands between you and a soggy afternoon if you plan any walking from your base.
Inside the tent, those boots come off. Pack sandals or slides so you have something easy to slip on for the tent interior and for shared shower facilities, where barefoot walking is neither comfortable nor appealing. Keep them by the tent door and your floors stay cleaner for the whole stay.
After dark, many glamping sites use low or no pathway lighting, deliberately, to preserve the atmosphere. A headlamp or lantern with spare batteries turns a nervous shuffle into a relaxed walk back from the fire pit. For daytime, a compact daypack, a reusable water bottle and insect repellent cover most short excursions from your tent.
- Headlamp hands-free: a headlamp beats a phone flashlight because it leaves both hands free for unzipping tent doors or carrying dishes to a shared kitchen.
- Second light: a small lantern inside the tent saves your headlamp battery and makes card games or reading after dark much easier.
- Repellent type: a spray for skin plus a wristband or clip for around the tent covers both you and your immediate area.
- Daypack size: something in the 15-20 liter range holds water, layers and snacks without tempting you to overfill it for short walks.
Kitchen and Food Packing
Food planning can make or break a glamping trip, so start by checking whether your site has a BBQ, fire pit or shared kitchen. If there’s a fire pit, you’re in luck: foil-packet meals, skewers and s’mores all cook beautifully over coals, and marshmallows are practically mandatory. If there’s no cooking setup, plan no-cook meals like wraps, salads and pre-made pasta, or confirm kitchen access before you go rather than discovering the gap at dinnertime.
Refrigeration is the other big question. Many glamping sites don’t offer a full fridge in the tent, so a cooler with ice packs is the safest way to bring cheese, meat, milk or anything perishable. Freeze water bottles at home to use as ice packs, then drink them as they melt.
Coffee deserves its own line on your packing list. On-site coffee is rarely included, and the nearest café may be a long drive away. A French press or portable coffee maker plus your favorite grounds takes almost no space and guarantees a good first morning.
- A small cutting board and a sharp knife with a blade cover handle everything from breakfast fruit to burger fixings.
- Reusable plates and cutlery save you from single-use plastic, but skip them if the amenities list confirms full kitchenware.
- Pre-chop vegetables and marinate proteins at home so campfire cooking stays fun instead of fiddly.
- A bottle of cooking oil, salt and pepper in a small container covers most campfire seasoning needs.
- Bring more drinking water than you think you need if the site doesn’t advertise potable water on tap.
Toiletries, Sleep Comfort and Small Luxuries
Glamping usually comes with a real bed, but that doesn’t mean you should skip the small comforts that make a tent stay feel polished. Pack travel-size toiletries instead of full bottles, and toss in flip-flops if you’ll be using shared bathrooms. Even ensuite tents benefit from a compact toiletry kit, because padding ten steps to a separate washhouse in bare feet is nobody’s idea of luxury.
Sleep quality is where first-timers are often caught off guard. Canvas walls let in early morning light, and nature sounds are very different from the muffled hum of a hotel room. A lightweight eye mask and a pair of earplugs weigh almost nothing in your bag and can rescue a short night.
The chill after dark is the other common surprise: canvas tents cool down fast, and nights can feel 10-15°C cooler than the afternoon, even in summer. A hot water bottle filled at the fire or kettle, or a pair of thermal sleep socks, keeps you warm without burying yourself under extra blankets you’d have to pack.
- A paperback or e-reader is perfect for the slow hours; canvas tents get great reading light during the day.
- A small portable speaker adds atmosphere, but keep the volume considerate if sites are close together.
- A s’mores kit with chocolate, graham crackers and marshmallows turns the fire pit into the evening’s main event.
- A thermos lets you carry a hot drink to a lookout spot or keep one by the bed for the morning.
- A microfiber towel dries fast and is handy even when the site supplies standard bath towels.
Booking and Timing Your Glamping Trip
Glamping has grown popular enough that the best sites sell out first, especially for June-August weekends. The simple rule: reserve 2-3 months ahead if you have your heart set on a specific tent, a specific region or a summer Saturday. Popular sites near national parks and coastlines can be booked solid well before that, so earlier is safer if your dates are fixed.
If your schedule allows flexibility, shoulder-season dates in April-May or September-October are the smart traveler’s secret. Rates often run 20-30% below peak pricing, sites are quieter, and in temperate destinations the season typically runs from April to October anyway, so you still get the full experience with fewer neighbors.
Before you pay, read the cancellation policy carefully. Glamping is weather-dependent in a way a city hotel never is, and some operators offer flexible rebooking if a storm rolls through. Knowing the terms upfront beats negotiating them later.
- Budget roughly $100 to $500+ per night depending on destination, tent type and included amenities, so compare what’s actually included before judging a rate.
- Midweek dates are usually easier to book and cheaper than weekends, even in peak season.
- Check whether the rate is per tent or per person, since some sites price extra guests separately.
- Ask about minimum-stay requirements for holiday weekends, which are common at popular sites.
- Read recent guest reviews for notes on heating, insects and noise, since these vary more between tents than photos suggest.
Your Glamping Trip Checklist at a Glance
Glamping blends the comfort of a hotel room with the setting of a campsite, and that hybrid nature is exactly why so many travelers arrive under-prepared. You get a real roof over your head, but you’re still outdoors, and the gap between what you expected and what you packed can make or break the trip.
The fix is simple: plan in stages. First, find out exactly what your site provides so you only bring what’s missing. Then think through your days and evenings at the site — how you’ll dress, what you’ll walk on, how you’ll eat — and pack for those moments rather than for a generic camping trip.
The sections below walk through each category in order, from bedding and clothing to booking strategy. Work through them once and you’ll arrive with everything you need, without a trunk full of duplicates you never touch.